

In a previous blog post we talked about how to leverage Power BI data in Power Automate. This will be just a small article showing you how to make that data extract user friendly.
When extracting data from a Power BI semantic model (yes... we also still call it a dataset) the columns will be extracted with naming convention set as "TableName[ColumnName]". Today I am going to show how to customize it.
Our main goal in both solutions will be to translate the JSON format into a tabular form where we can leverage the data as dynamic content.
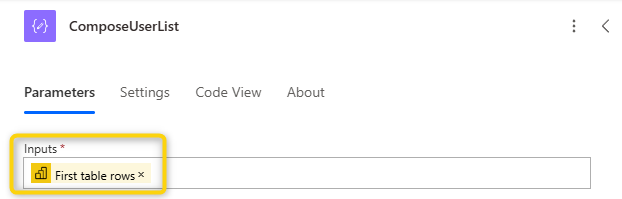
The simplest way to achieve this is by using a compose step and selecting from the dynamic content the "First table rows" output from the Run a query against the dataset action.
Afterwards we will just run a test to get the output of that action. We are going to use that as a sample for our next step.

Now that we have the output ready, we can move on and parse the same JSON output of the initial Run a query against the dataset action. For this we will add a Parse JSON action and select the "First table rows" dynamic content. Afterwards we will click the option to generate the schema based on a payload.

We are going now to paste the output from the compose action step we ran a bit earlier.

This will then generate the schema for us.

Now we can run a test and make sure everything is running fine. Afterwards for testing purpose we can add a temporary compose action to see if we see the dynamic content.

NOTE
At stage we can also remove the two compose steps which were used to generate the array output initially and now in the last step, for checking if the content is visible in the dynamic content.
In the step, we are going to use a Select action. This action will allow us to also narrow down the columns we want to use further downstream (e.g. I can have some columns that I used in previous steps, but I would not like them in the final output), but also rename the respective columns.
First, we will the output of the Parse JSON action, then we will add a name and select the respective dynamic content.

NOTE
We could have also written each combination manually by opening the text editor, where the dynamic content will still be available.

If we are going to run a test, we will see that the new names will appear.

While this method involves using some temporary steps, I find it the most effective one in terms of time invested. In the next method, we will learn how to achieve the same output, without any help.
While in the first solution we have seen how we proceed by simply using the interface, now we are going to see how this can be achieved by also typing some code.
The first step would be to just look at the output of a test run which already had the Run a query against the dataset action. In the output we will look in the array at the firstTableRows section and copy the names of the columns.

The final step of this method would be as well to use a Select action in which we would use the First table rows output from the Run a query against the dataset action.
However, in this case, after inputting the new names, we will not open the dynamic content, but the Insert Expression window.

Now we will need to type in the expression. Luckily the structure will not change, we will just need to update the names of our actions.
Let's take the components of the expression one by one:

We are going to repeat the same step also for the other columns.
You also have below the code snippets:
NOTE
While we had to type an expression, the moment we are going to save/publish the flow and run a test, this will be displayed as dynamic content and not an expression, hence for any change we will need to add the expression again.

This is a very useful operator in avoiding errors being thrown out. The operator ensures that if the current item is null or does not exist, the expression will not throw an error and stop the flow from running and will return null instead.
Depending on the scenario you are looking at, and control points you will have in the flow you can decide which option to chose, however I would rarely encourage the usage of the method without the null-conditional operator.
We are going to trick an item name a bit to force a missing item.


The main idea of both solutions would be to simply the actual item names and make them user-friendly, especially if those will also be distributed as such further.
The rule of thumb I would use on choosing the right method will be based on the number of columns I have to deal with. In the case of a high number of columns (7+) I would go for the first method, as it will be much faster, otherwise I would prefer the second method.
